

Have you ever seen or heard of a “war binder” or any other type of Bible study companion notebook? If so, do you ever see them and think, “these are not my style” or “I wish I could set up my own?” If this is you stick around to see how I’ve set mine up and hopefully you’ll leave with some inspiration for how to set up your own. If you’ve never heard of these things, let’s start by explaining what a Bible Buddy is.
A Bible Buddy is a notebook where you can keep all your Bible Study notes in once place and is portable so you can use it during your quiet time or take it to church with you. Things that people generally include in their binder are prayer request/ resources, word studies, current studies, verse memorization, if they are following a reading plan, and sermon notes. The binder is really customizable to the needs of the Bible Theologian (A Bible Theologian is someone who studies the Bible).
Supplies
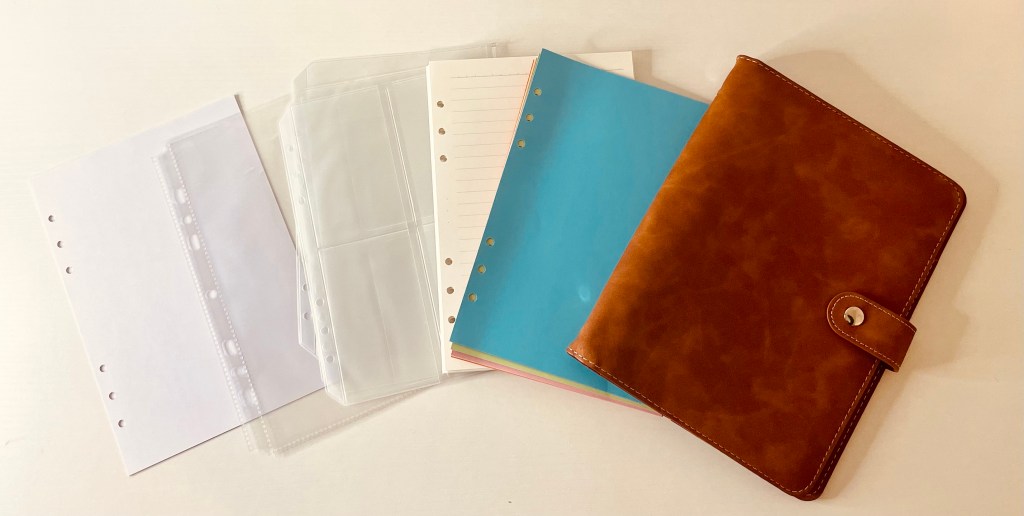
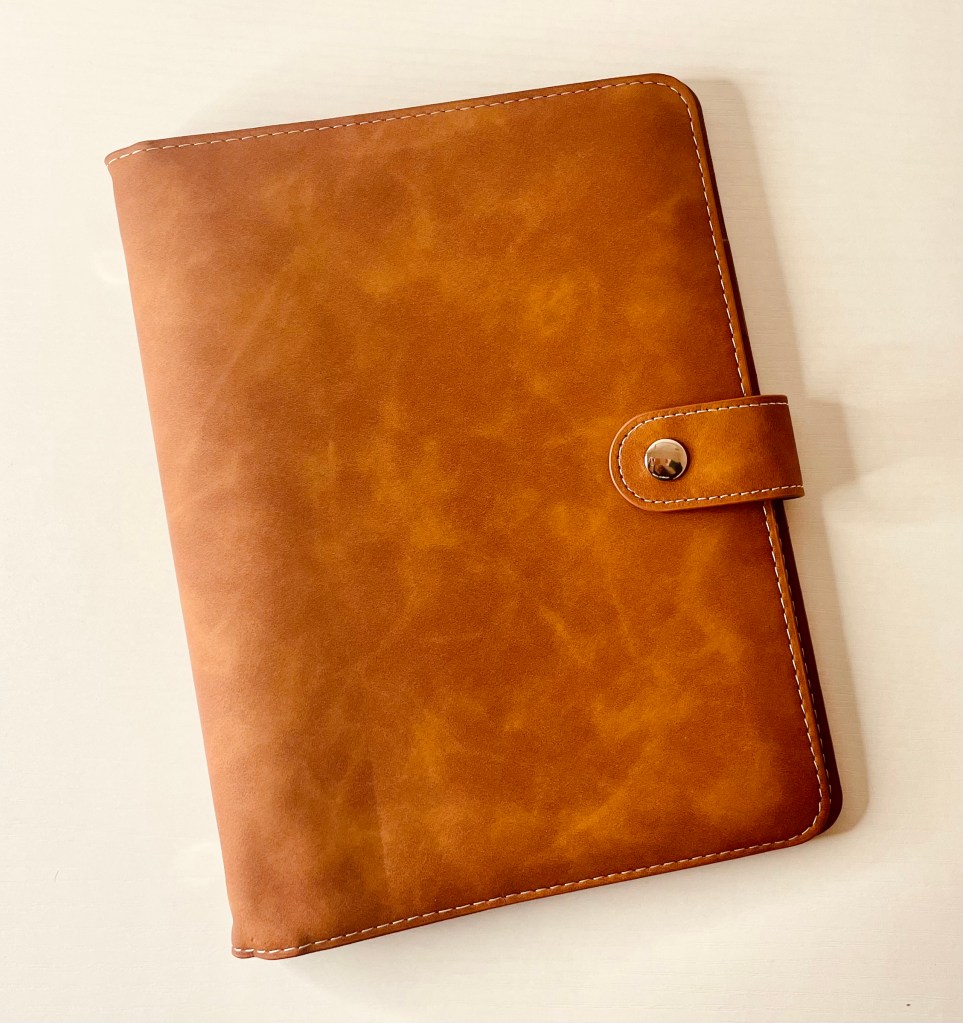
I love the A5 size for note taking so I ordered this cover brown cover that has rings inside from Amazon as the base of my Bible Buddy. The kit includes the binder, some dividers, lined paper, and some clear business card pockets. See the Amazon Affiliate link* below to purchase if you want to use the same binder.
https://amzn.to/45ThDqd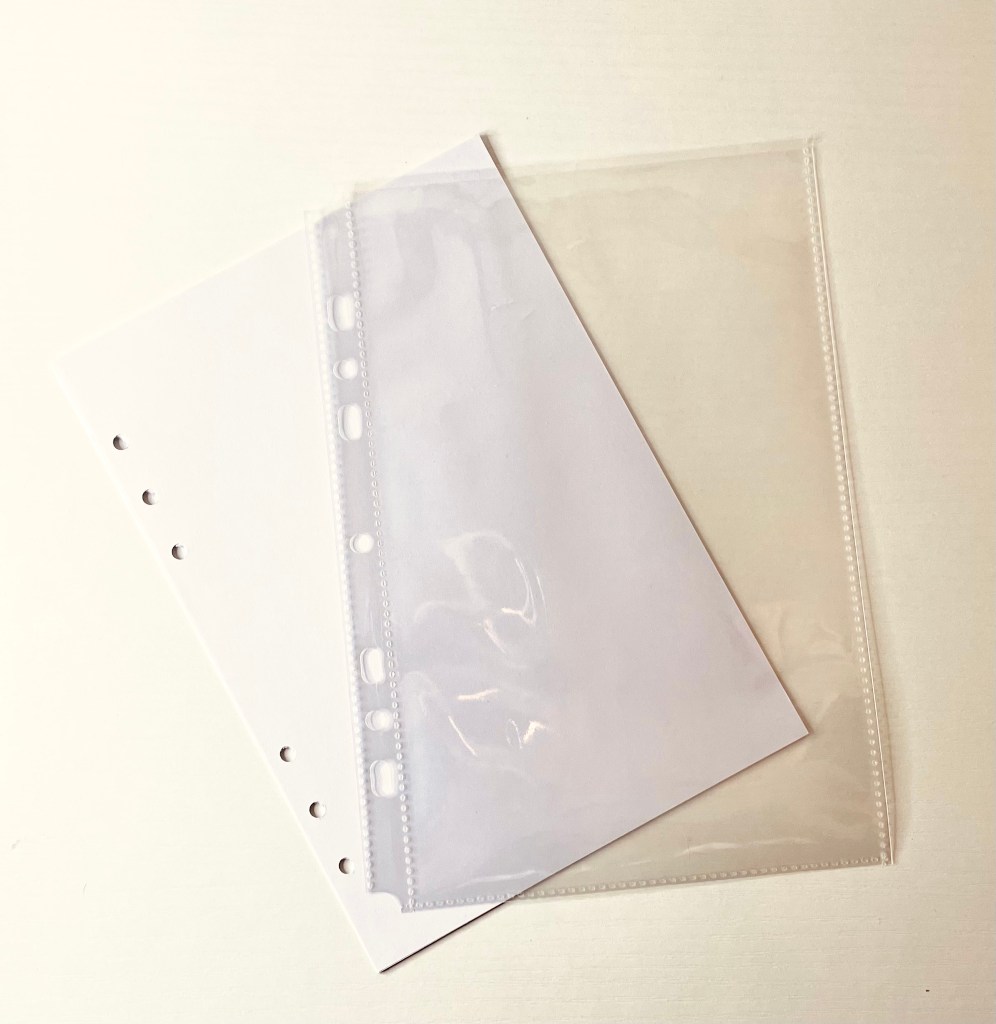
The plain A5 paper and the page protectors were not part of the original binder. I have Amazon Associate links* for these two items as well. I love the ease of buying pre-cut and already punched paper and my printer lets me print directly on it! I will note that the page protectors are not truly A5 sized and take some maneuvering to print to the correct sized to fill the pocket.
https://amzn.to/470f7PY https://amzn.to/3MkKcpMThe Set Up
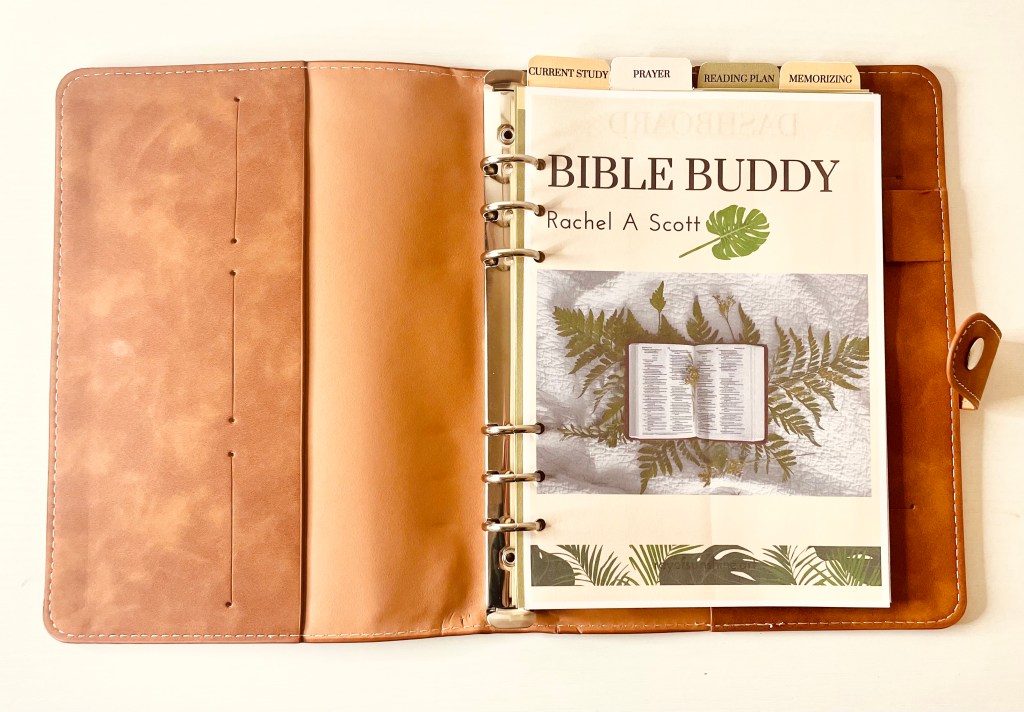
I started off with a cover page and I made this page using Canva. Canva is a free site with loads of templates to create printables. Fun tip, if you are an educator you can use your edu email and get the pro version for free!
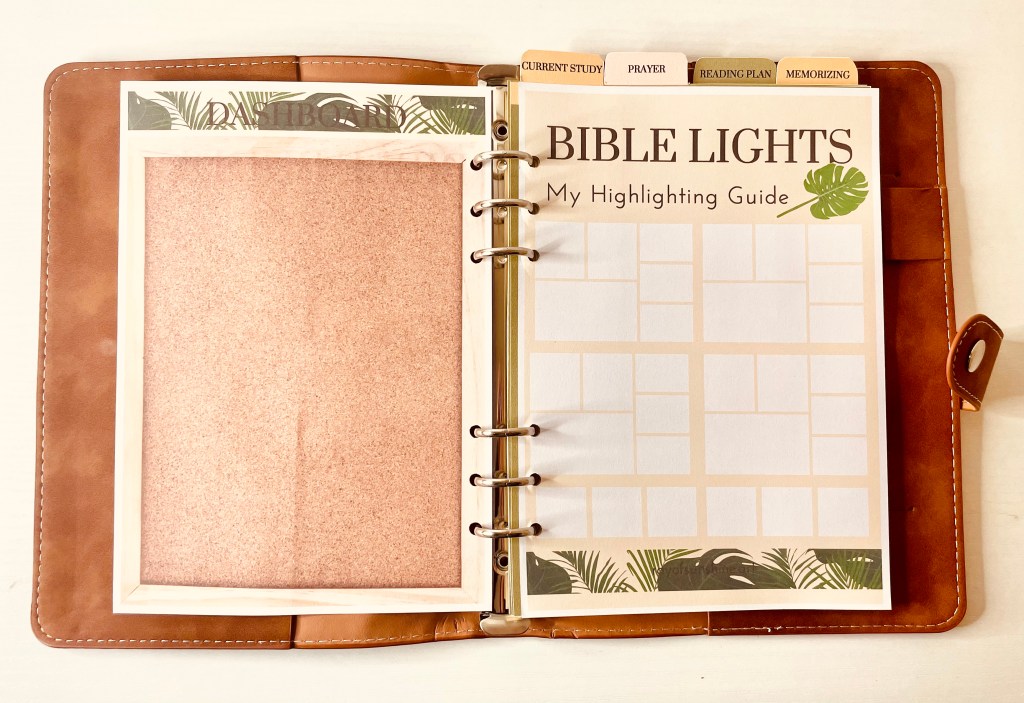
On the back of my cover page I made a dashboard. This is where I’ll stick some sticky notes or other bits and bobs that don’t have a home in my binder at the moment. I also printed my Bible Lights so that it is always handy and easy to reference. If you like the Bible Lights sheet, check out my previous post so you can download it for free!
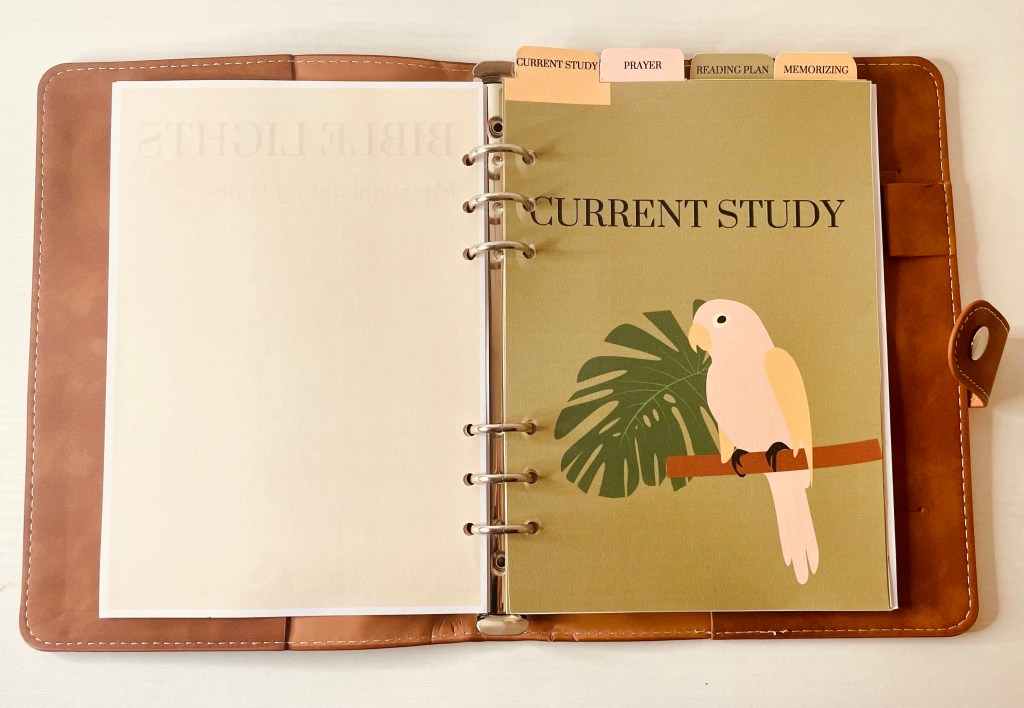
Now on to the dividers, I chose to keep it simple for 4 categories. I also made these on Canva so that they fit my style. If you purchased the same binder or one similar, it may have come with dividers and you can use those as well. Another tip for dividers is to cut your favorite scrapbook paper down to size and use tabs. For the first divider I labeled it as current study. This is where I’ll put whatever I am studying through the Bible. This could be a number of things such as notes on a particular book of the Bible, verse maps, or notes from a study. You can find all kinds of study resources on the web or youtube. If this is a topic you are interested in stay tuned for future post with more resources and study topics on this site!
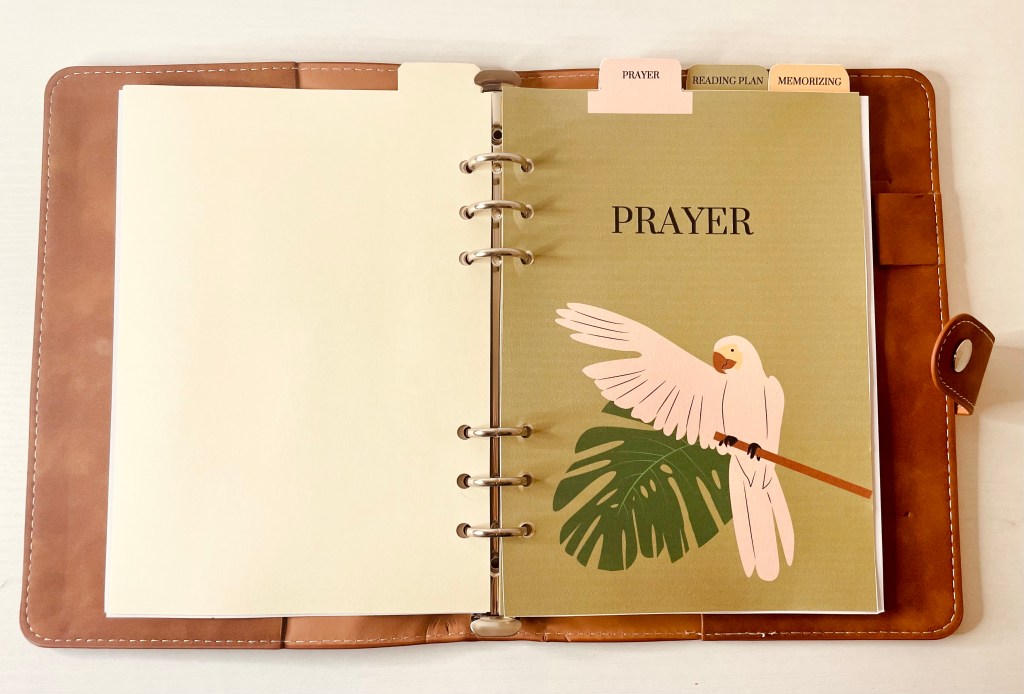
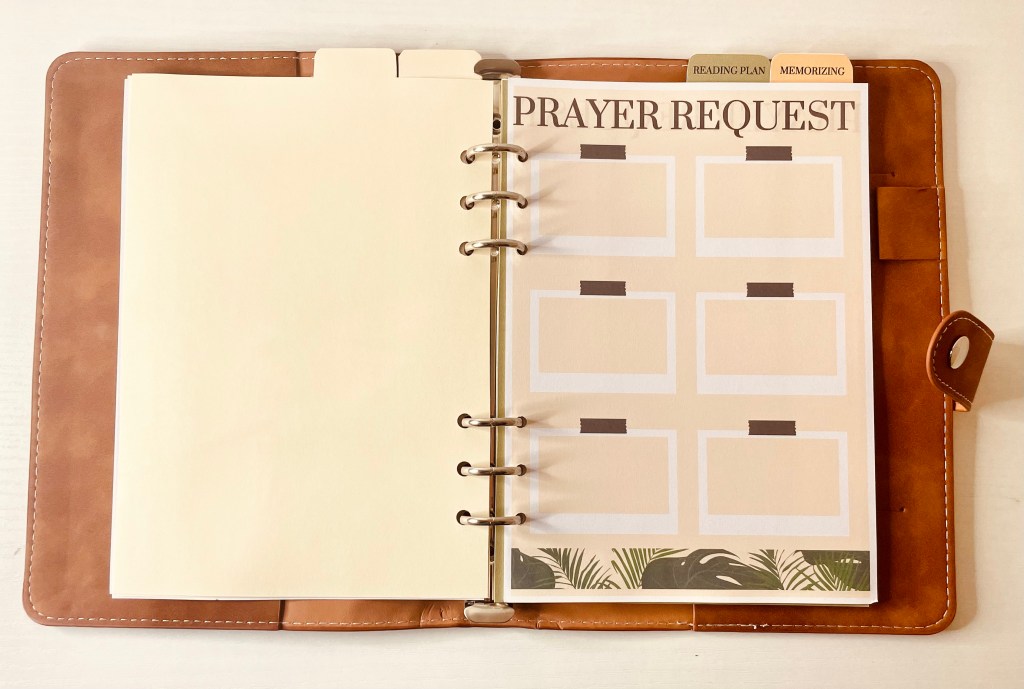
My second section is for Prayer. I’ll be honest, I’ve tried prayer binders and journals in the past and I’m not successful with them. My prayers tend to be more unscripted conversations. That being said I am liable to forget a prayer request or two. In this section I made some pages to add in request that I receive throughout the day and extra paper to add scriptures I want to pray or other things regarding prayer I don’t want to forget.
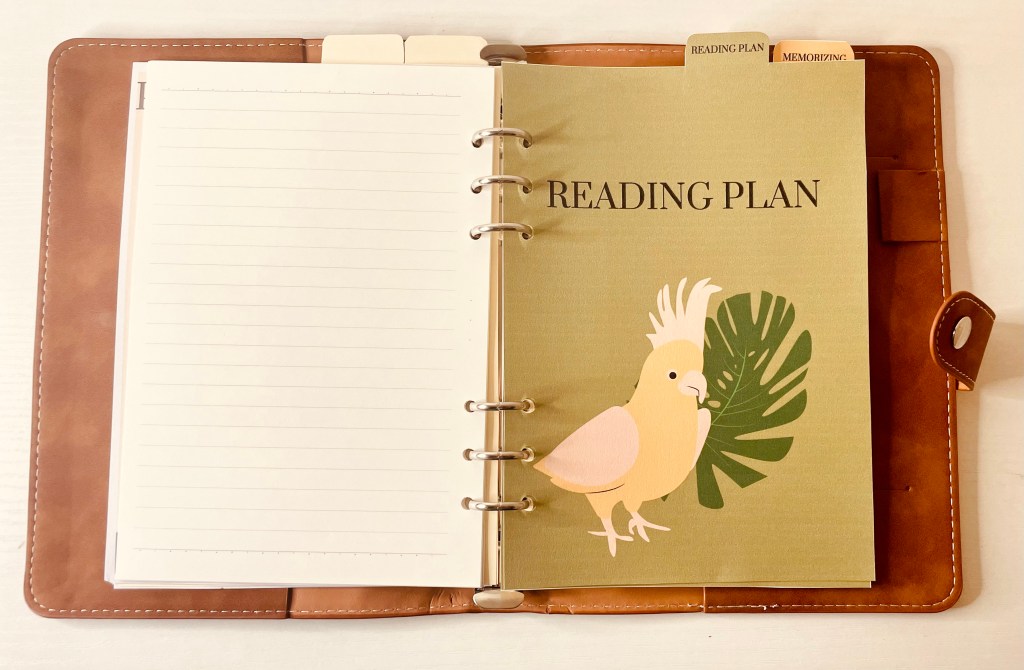
My third section is for my yearly reading plan. For the past few years I have been following a daily reading plan as it helps me to stay consistent in the word and gives me a roadmap to what to read on days that I don’t have a topic in mind already. As we are reaching the end of 2023, I am beginning preparation to write a plan for 2024 and will share that here soon!
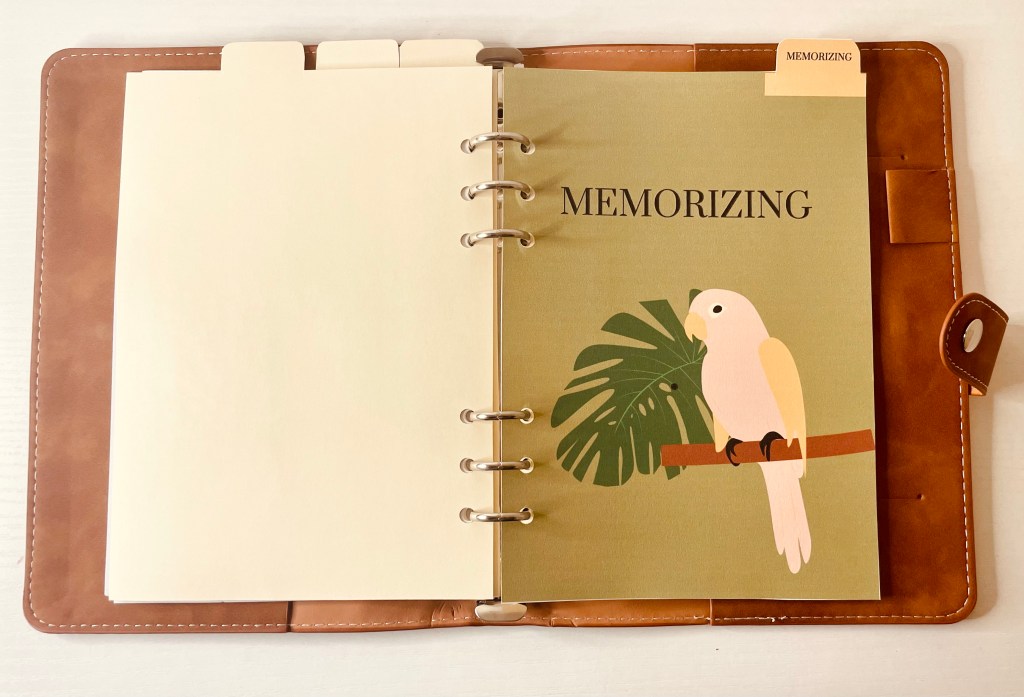
My final section is for verse memorization. This is a goal of mine for 2024 as we are instructed to write the words of the Lord on our hearts (Psalm 119:11). I have blank paper in this section so I can practice writing out the verses that I am memorizing and will probably print a graphic with the verse on it as well.
Next Steps
As you can see there is plenty of room to grow and add things as I go. If you enjoyed this set up then subscribe to this page so you can get notifications for when the next post in this series goes live. I hope this post has inspired you to set up your Bible study binder and to spend time in the word.
*Please note the use of Amazon Affiliate links. This means if you make a purchase through the link then I may receive some compensation.
Leave a comment below telling me what your favorite things to include in your Bible Study System are.

Leave a comment